ASTM A 802 Standard Practice for Steel
Castings, Iron Castings, Surface Acceptance, Visual Examination
The object of this standard is to
facilitate cooperation between founder and casting purchaser in
determining the surface conditions, and quality level required.
It should assist in avoiding
misunderstanding arising from imprecise descriptions at the order
stage and should also help in defining a surface that is amendable
to a particular techniques of non-destructive testing. The use of
the comparators is superior to methods based on photographs which
can introduce uncertainties concerning interpretation, particularly
with regards o the depth of surface irregularities.
The casting designer and purchasers can
denote the level one to four on the drawings as the requirements of
surface quality, then the founder, Dandong Foundry, will check the
photos, and learn about the requirements. The comparator can also be
used as the standard of quality inspection.
Visual
Inspection Acceptance Criteria
|
Surface Feature |
Level I |
Level II |
Level III |
Level IV |
| Surface
Texture |
A1 |
A2 |
A3 |
A4 |
|
Mon-metallic Inclusions |
B1 |
B2 |
B4 |
B5 |
| Gas
Porosity |
C1 |
C2 |
C3 |
C4 |
| Fusion
Discontinuities |
- |
D1 |
D2 |
D5 |
|
Expansion Discontinuities |
- |
- |
E3 |
E5 |
| Inserts |
- |
- |
F1 |
F3 |
| Metal
Removal Marks (Thermal Dressing) |
G1 |
G2 |
G3 |
G5 |
| Metal
Removal Marks (Mechanical Dressing) |
H1 |
H3 |
H4 |
H5 |
| Metal
Removal Marks (Welds) |
J1 |
J2 |
J3 |
J5 |
A. Surface Texture
- the natural surface of the casting after shot blasting.
B. Non-Metallic
Inclusions - Non-metallic material trapped on the surface of
castings.
C. Gas Porosity
- Indications of gas t the casing surface.
D. Fusion
Discontinuities - surface irregularities giving a wrinkled
appearance.
E. Expansion
Discontinuities - slightly raised surface irregularities.
F. Inserts -
indications of chaplets (sand core supports) or internal chills.
G. Metal Removal
Marks (Thermal Dressing) - surface remaining after
using oxy-gas or air-carbon arc processes for metal removal.
H. Metal Removal
Marks (Mechanical Dressing) - surface remaining after using
a mechanical means of dressing a cast surface or a previously
thermally dressed surface.
J. Metal Removal
Marks (Welds) - indications of welds fully or partially
removed by thermal or mechanical dressing.
Comparators for the Definition of Surface Quality of Iron and Steel
Casting
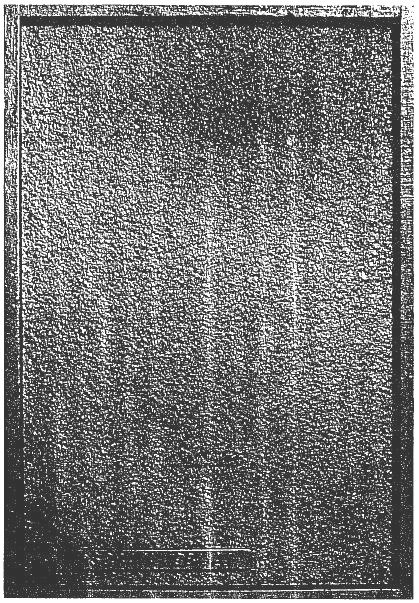
SURFACE TEXTURE -
A1 |
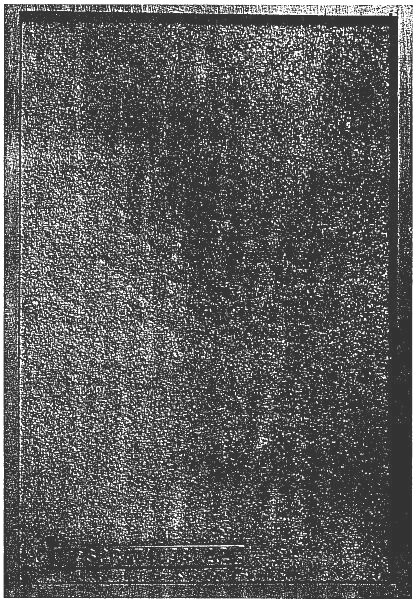
SURFACE TEXTURE -
A2 |
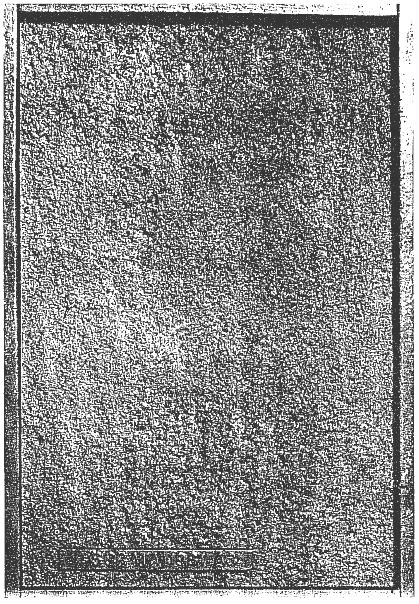
SURFACE TEXTURE -
A3 |
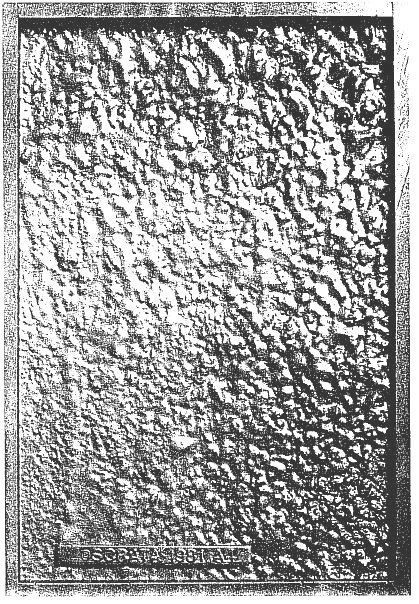
SURFACE TEXTURE -
A4 |
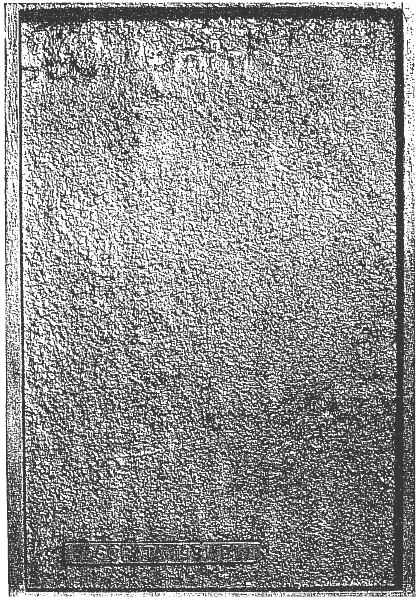
NON-METALLIC INCLUSIONS - B1 |
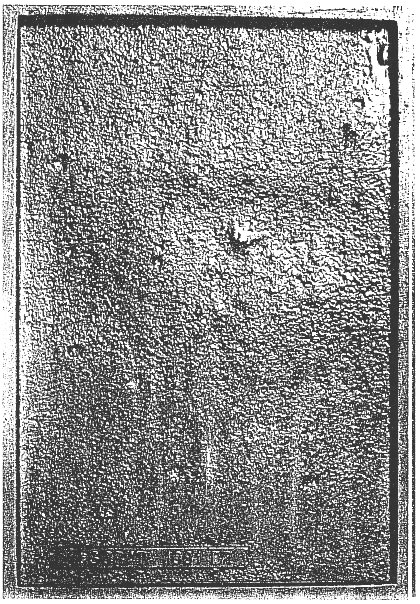
NON-METALLIC INCLUSIONS - B2 |
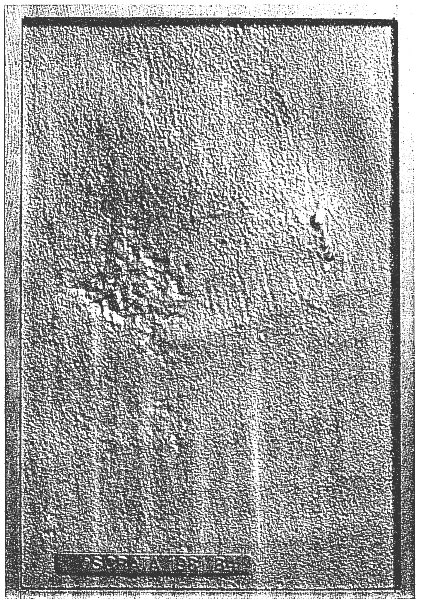
NON-METALLIC INCLUSIONS - B3 |
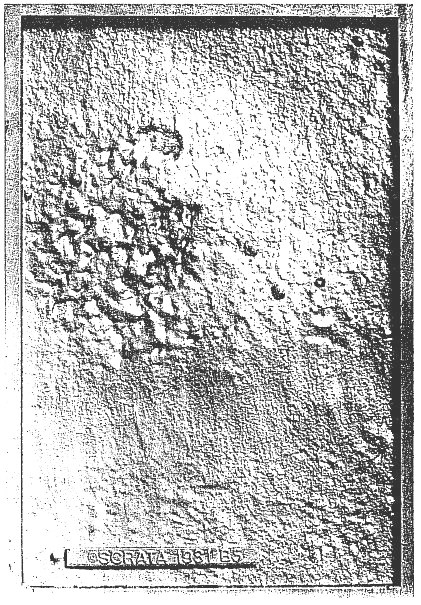
NON-METALLIC INCLUSIONS - B4 |
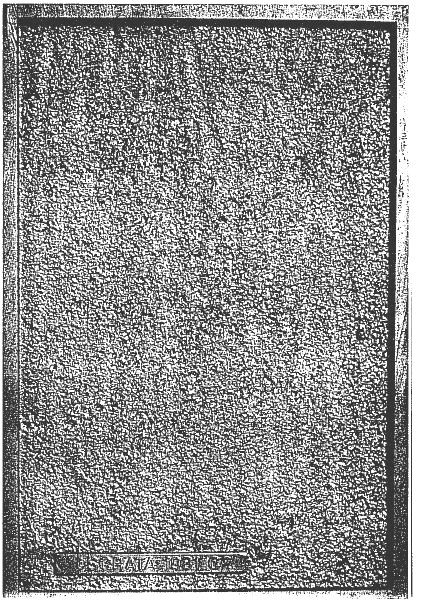
GAS POROSITY - C1 |
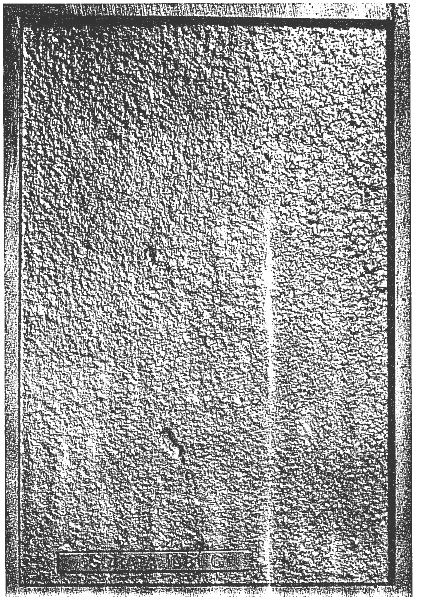
GAS POROSITY - C2 |
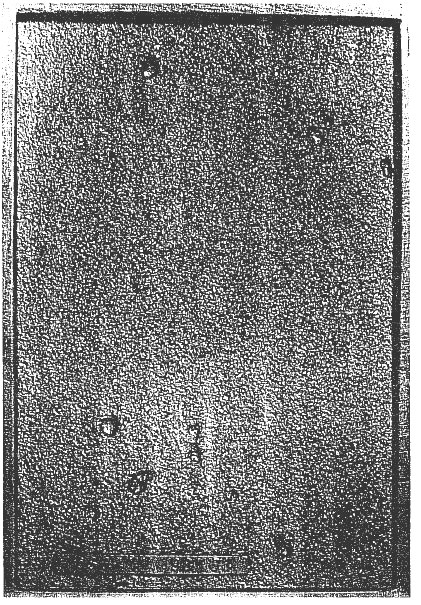
GAS POROSITY - C3 |
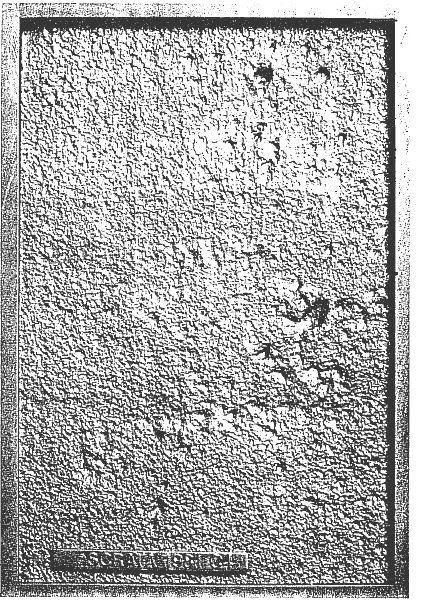
GAS POROSITY - C4 |
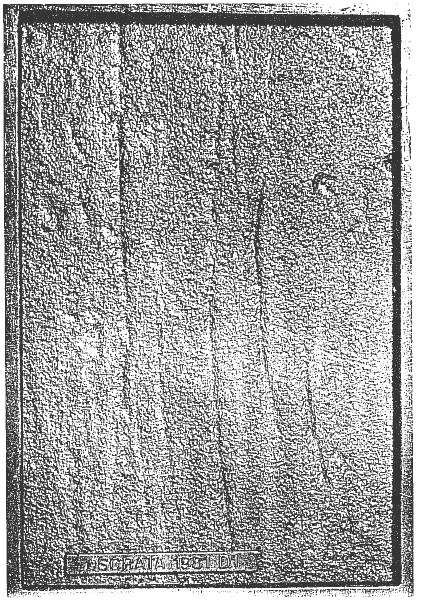
FUSION DISCONTINUITIES - D1 |
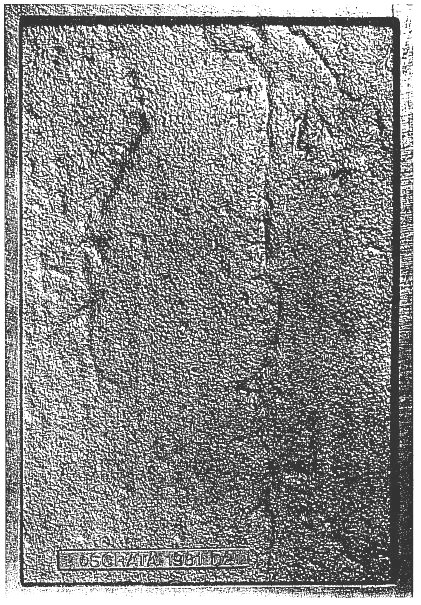
FUSION DISCONTINUITIES - D2 |
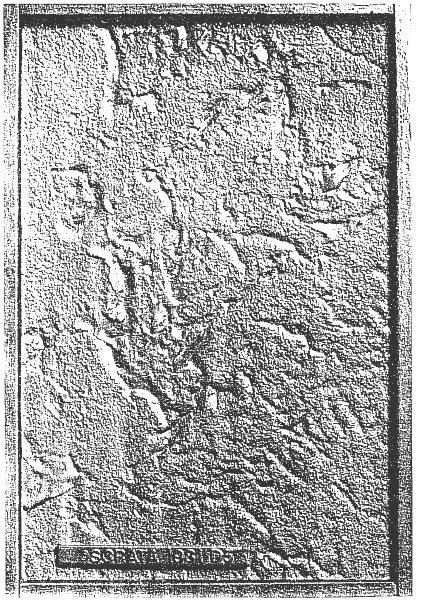
FUSION DISCONTINUITIES - D5 |
|
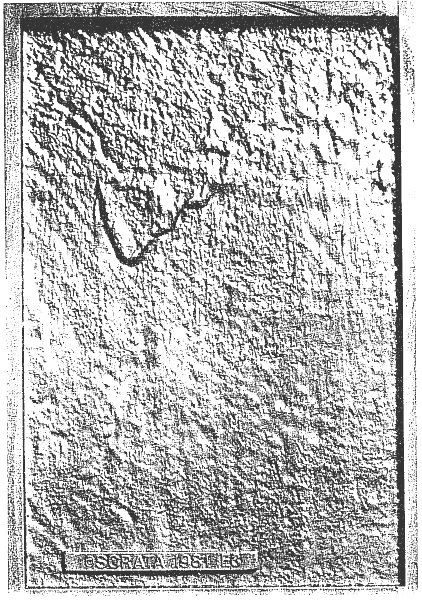
EXPANSION DISCONTINUITIES - E3 |
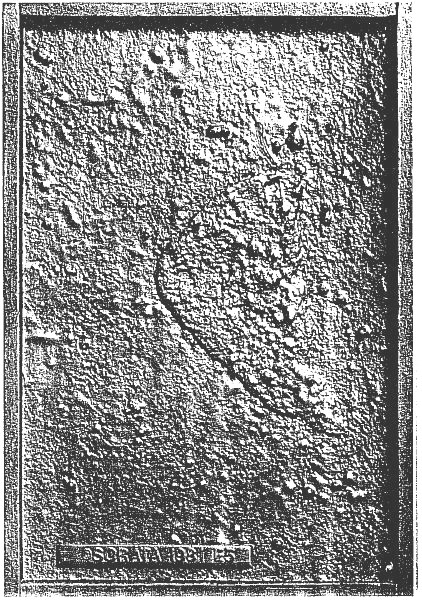
EXPANSION DISCONTINUITIES - E5 |
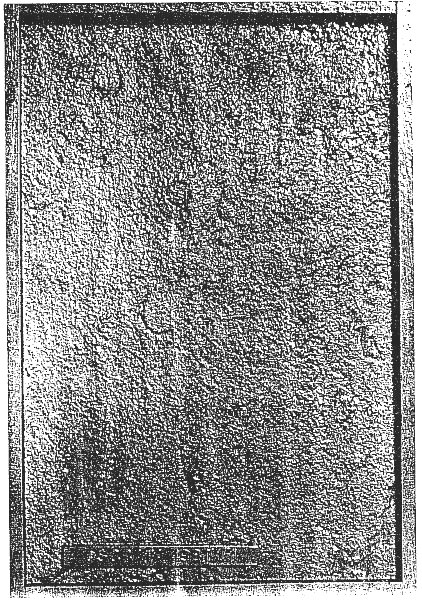
INSERTS - F1 |
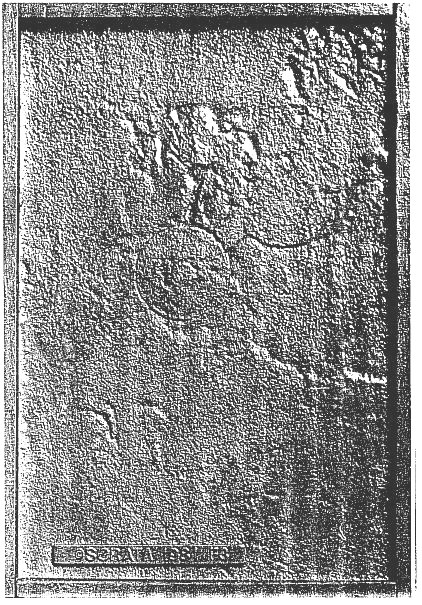
INSERTS - F3 |
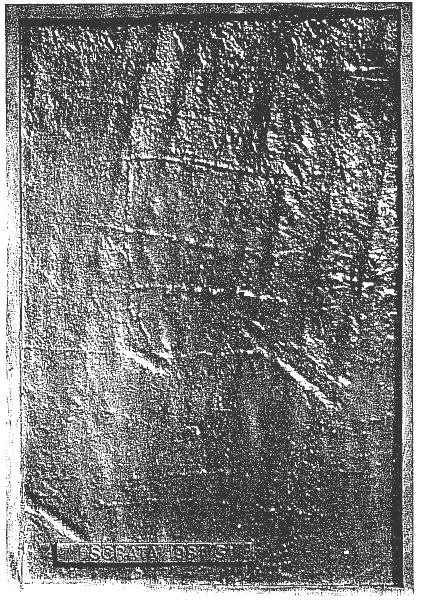
METAL REMOVAL MARKS - THERMAL DRESSING - G1 |
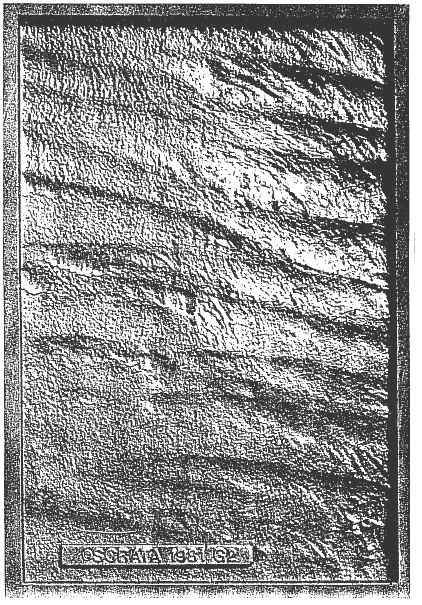
METAL REMOVAL MARKS - THERMAL DRESSING - G2 |
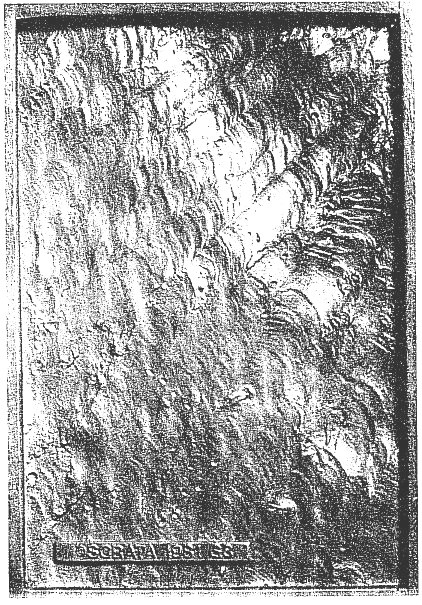
METAL REMOVAL MARKS (THERMAL DRESSING) - G3 |
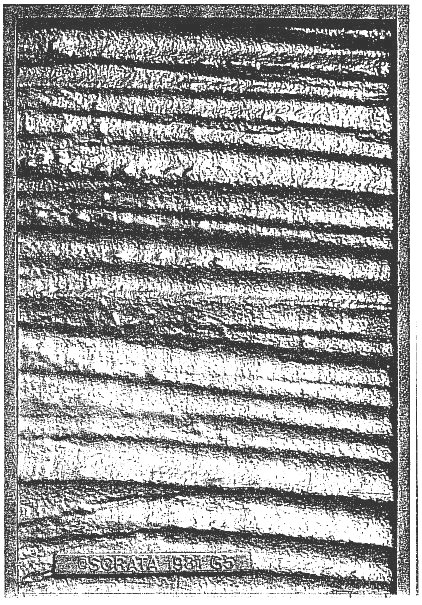
METAL REMOVAL MARKS (THERMAL DRESSING) - G5 |
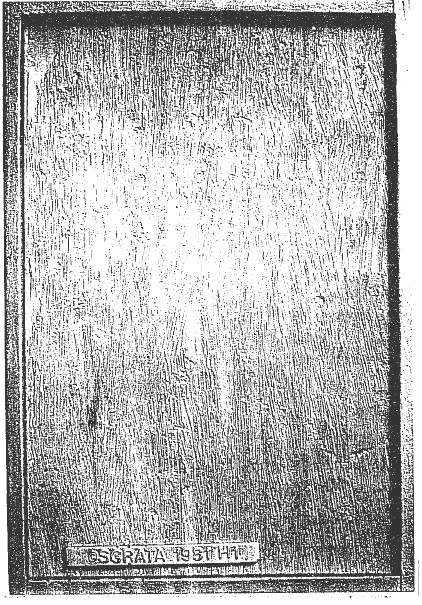
METAL REMOVAL MARKS (MECHANICAL DRESSING) - H1 |
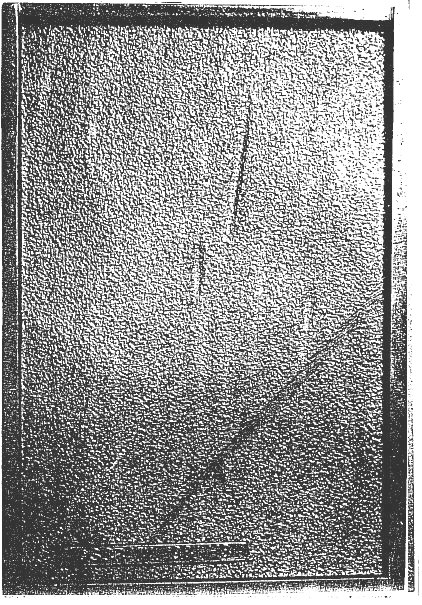
METAL REMOVAL MARKS (MECHANICAL DRESSING) - H3 |
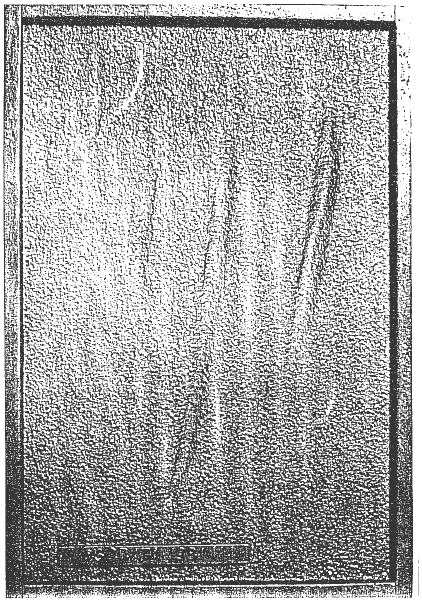
METAL REMOVAL MARKS (MECHANICAL DRESSING) - H4 |
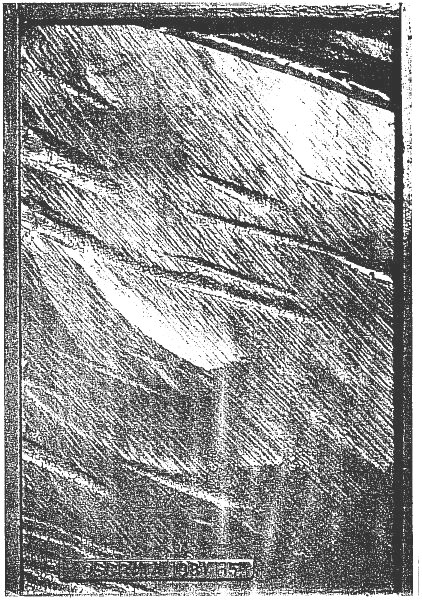
METAL REMOVAL MARKS (MECHANICAL DRESSING) - H5 |
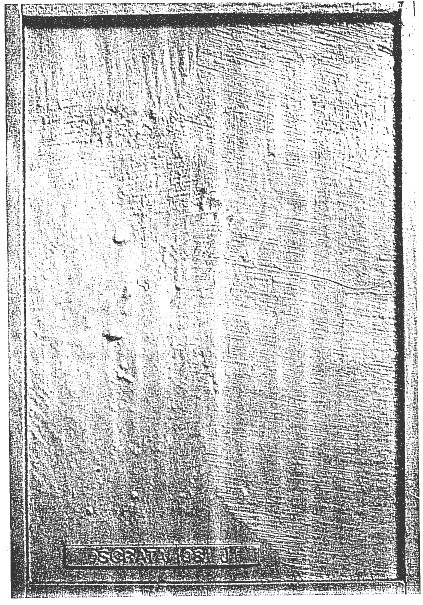
METAL REMOVAL MARKS (WELDS) - J1 |
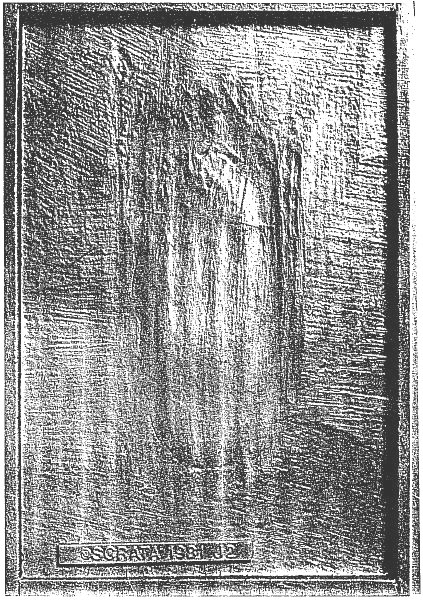
METAL REMOVAL MARKS (WELDS) - J2 |
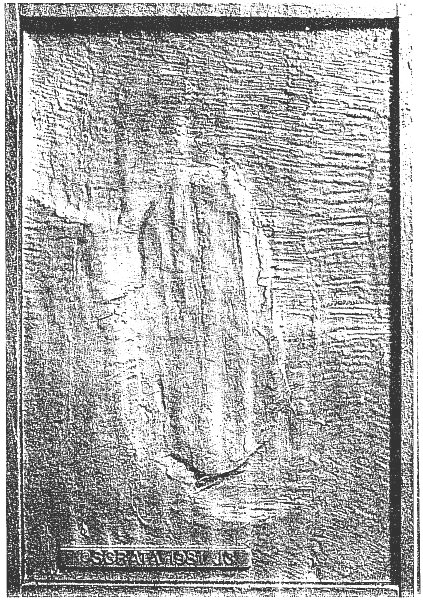
METAL REMOVAL MARKS (WELDS) - J3 |
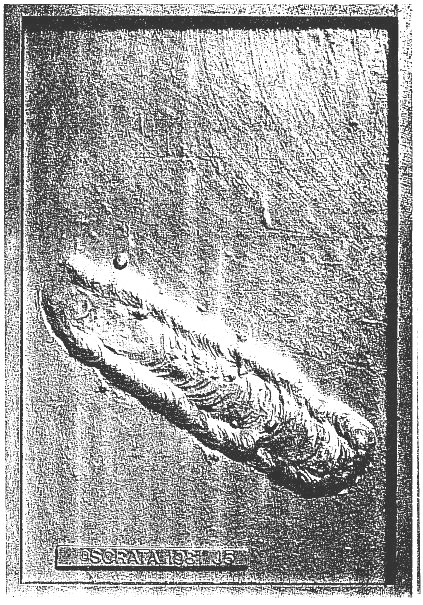
METAL REMOVAL MARKS (WELDS) - J5 |
Home |
More Articles |
